The Gupshup – Zuper
Integration helps the user build a bot platform and set up the conversational
bot service that enhances customer communication while using the WhatsApp
chatbot.
The customer gets the
subscription for Gupshup, and our Zuper builds a conversational bot for the best
customer-user communication on WhatsApp. To provide the experience, Gupshup
ensures that messages created for WhatsApp by Zuper are valid before those
conversations are used on WhatsApp. Without predefining and approved templates
on the Gupshup, the developer will not be able to send the messages on
WhatsApp.
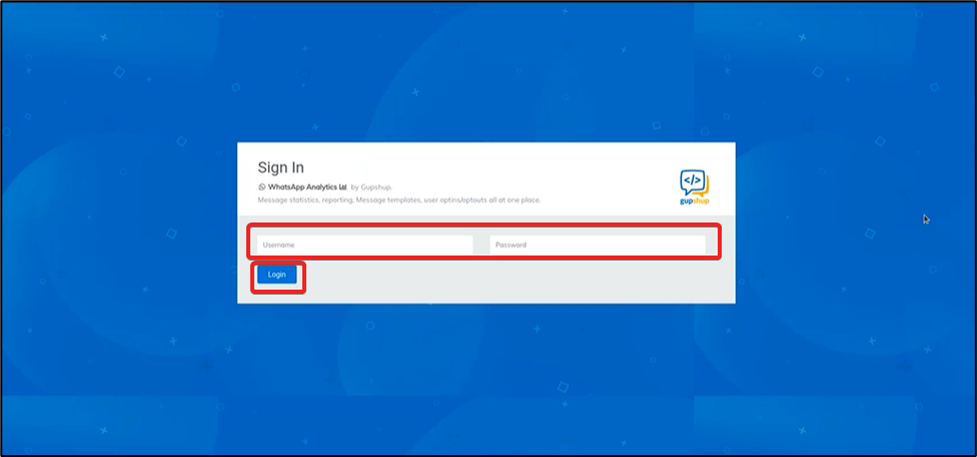
1. log in to “Gupshup” and
enter the valid credentials to log in and set the conversational bot.
2. Select the “Message
Templates” option from the left panel.
3. The user can view the message template, create a
template, or clone the existing ones. To start a new template, select the “Create”
option.
4. Enter the “Your Account”
password and “Name,” then select the “Alert Update” option under
the category.
5. Select the “Type” of
the template as “Text.” Next, choose the “Language” as “English.”
Finally, enter the Header (Optional) and Body details.
6. Enter the “Footer”
Details (Optional), Button (Optional), and button text (Mandatory)
details. The button text can be viewed under the preview pane. Then
select the “Add Sample” option.
7. Enter the “Body”
details under add sample content option to preview the details and
select “Done.”
8. Select the “Create”
option to generate the message template. Once the message templated gets
approved, the details will be used for the user–bot conversations without any
flaws.
Whenever Zuper creates the
message templates on the Gupshup for the user-bot interaction, Gupshup ensures
the approved pre-registered messages and the conversational messages built by
the developer remain the same.