How to set up regional and city taxes and pre-define the Tax based on the Address?
You need to pre-define the address to apply the taxes automatically. You can choose either the Billing address or the Service address. When creating the Quote or Invoice, the taxes will be added to the Quote based on the address added and based on the pre-defined settings.
Now we can select which
address has to be considered for Tax, either the billing or service address.
Pre-define
the Tax based on the Address

Navigation: Settings --> Organization Settings -->Misc. Settings --> Tax Settings
1. Select the “Settings” icon from the left navigation menu. Under the “Organization Settings,” click the “Misc. Settings” section.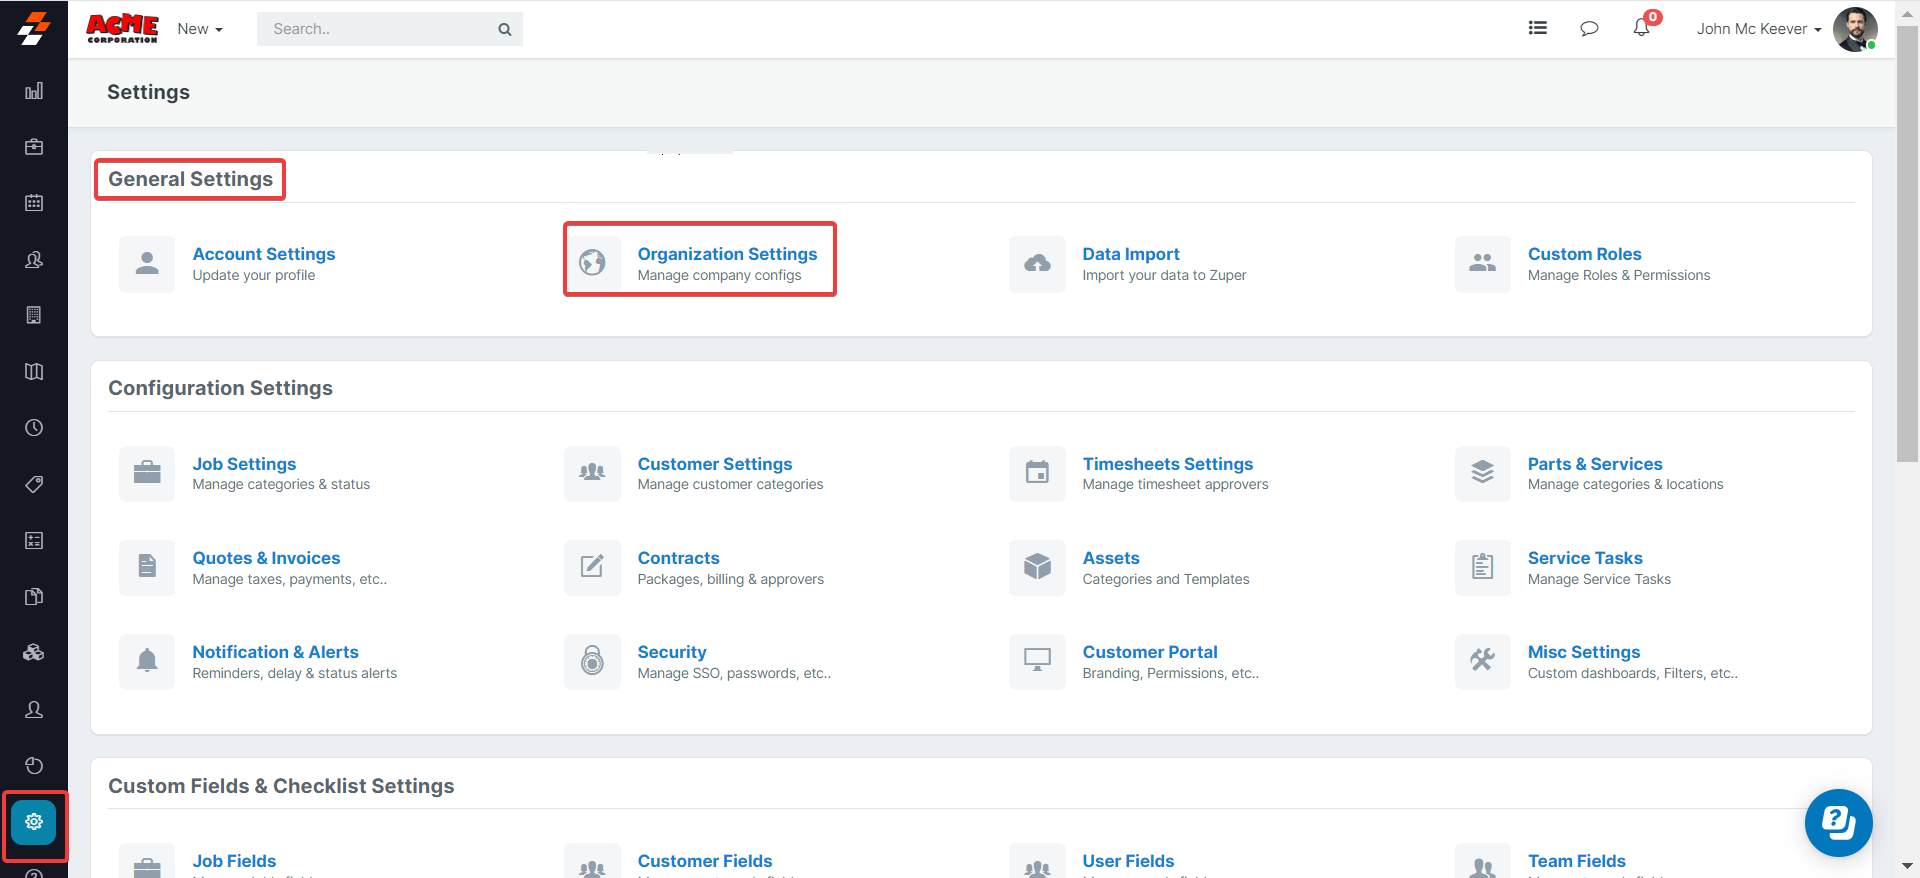
2. Under the “Misc. Settings,” Select the “Address
Type” from the drop-down box and click the “Save Settings” button.
Pre-Define the Tax Ranges
Settings --> Configuration Settings -->Quotes and Invoices --> Tax Settings --> +New Tax1. Select the “Settings” icon from the left navigation menu.
Under the “Configuration
Settings,” click the “Quotations & Invoices” section.
2. Under the “Tax Settings,” Click the “+ New Tax.”
3. Fill in the necessary details: “Tax Name,” “Tax Rate %,” “Associate Tax to Tax Group,” and tap on the “Save Tax.”
Create a New Quote – Link the
Tax Automatically
1. Select the “Accounting” module from the left navigation menu and choose the “Quotations” module.
Click the “+New” button and choose the “Quote.”
2. Select the “Customer” or “Organization” details to view the billing and service
address.
3. Based on the address selected, the regional Tax is applied
based on the region.
Capturing the taxes in the pre-settings helps for the hassle-free tax update on the quotation module. With this configuration, business gets the ability to decide how the tax needs to be applied if based on service or billing address.
Related Articles
How to setup Tax group and associate a tax group with a customer?
Navigation: Settings --> Configuration Settings --> Quotes and Invoice Settings -->New Tax Group Navigation: Settings -> Organization Settings -> Customer Settings -> Enable Billing Cycle should be turned on for the linking of tax group with the ...How to manage multiple time zones
You can now schedule and manage jobs in your preferred time zone on the V3 web and mobile app hassle-free through the multiple time-zone capability. Below are the key highlights: Schedule jobs in the preferred time zone on both web and mobile View ...How to pre define a custom PDF file name for Jobs?
You can now set the custom PDF file name for Jobs, Quotes, Invoices, and Contracts. Navigation: Settings -->Organization Settings --> Job Settings --> Default Job PDF Filename The PDFs downloaded from our Zuper system can be given standard file names ...How to set Customizable Job Card and Job Assignment Conflict Alert in the dispatch board?
Settings --> Organization Settings --> Job Settings --> turn on "Alert Conflict on Assignment." Pre settings: 1. Select the "Settings" module from the left panel and set "Yes" for the "Alert Conflict on Assignment." By enabling the above ...How to set the custom job fields on Zuper web app?
Navigation: Settings --> Custom Fields and Checklist Settings -->Job Fields --> (Select the single line / Multiple line input) --> Choose First Option by Default. The user can set the Choose First option as the placeholder while predefining a ...