How to manage multiple time zones
You can now schedule and manage jobs in your preferred time zone on the V3 web and mobile app hassle-free through the multiple time-zone capability. Below are the key highlights:
- Schedule jobs in the preferred time zone on both web and mobile
- View and pick slots in assisted scheduling in the preferred time zone.
- Technicians can still view jobs in their device's time zone on the mobile app, irrespective of the scheduled time zone, avoiding confusion.
- Daylight Saving Time is accounted for, with automatic updates to the time offset based on the selected date.
- Setup preferred time zones for organization and customer
- The default time zone would be an account time zone, allowing field teams to function in their preferred time zone irrespective of the device's time zone.
Enabling multiple time zones
To use the multiple time zone capability in Zuper, you first need to enable multiple time zones for your account from settings. Here’s how:
1. Go to “Settings” on the left navigation menu.
2. Under “General Settings,” select “Organization Settings.” You will land on the Organization settings configurations page.
3. Under configurations, choose general settings and enable "Enable switching time zones."
Set up account time zone in the web
Once switching time zones is enabled in settings, follow these steps to set up your account's time zone:
1. Go to “Settings” on the left navigation menu.
2. Under “General Settings,” select “Account Settings.”
3. On the Account Settings page, click “Other Settings.”
4. Choose your preferred time zone under "Timezone." This will become your account's time zone.

Note: The company's time zone will initially be pre-filled as your account's time zone, which you can update as needed.
Set preferred time zone for customer and organization
You can add preferred time zones for customer and organization. These will be pre-filled when creating jobs for a customer or organization.
Here’s how you can add a preferred time zone for a customer or organization.
1. Go to the Customer/Organization creation page.
2. Under the “Preferred Time zone” field, choose the customer or organization's preferred time zone from the dropdown. You can also search for a time zone in the dropdown.
3. After choosing the time zone, you will be able to view it from the customer or organization listing and details page as shown below:
Note: The customer or organization’s preferences will only be pre-filled if they are selected before scheduling a job.
Schedule jobs in a preferred time zone
You can access and manage the time zone under the “Job Schedule” while creating a job. By default, you will see the account's time zone prefilled.
If you wish to schedule a job in an organization or customer’s preferred time zone, select the organization or customer before updating the job’s schedule. If both the organization and customer have preferred time zones, the customer's preferred time zone would be pre-filled.
You can also select a time zone of your choice for the job. Here's how:
1. Go to the new job creation page.
2. On the left, you can view the default time zone under the "Job Schedule," which you can then change as needed. You can also view assisted scheduling slots in a preferred time zone.
3. Once set, the selected time zone will apply to the Due date, Start and End date & time. You can also view the start and end times converted/adjusted to your account's time zone for better clarity.
4. After choosing the time zone, you can view it from the job details and listing page.
5. You can also edit the time zone when rescheduling a job.
Time zone in Dispatch Board
All the jobs in the Dispatch Board will be displayed in the time zone selected in the picker at the top. Upon hovering over a job, you can view the schedule in the selected time zone as well as the time zone the job was scheduled in. When creating a job from the Dispatch Board, the selected time zone would be pre-filled.
Time zone in Calendar
The Calendar always displays jobs in the account's time zone. Upon hovering over a job, you can view the schedule in the selected time zone as well as the time zone the job was scheduled in.
Time zone in User shifts
You can also create user shifts in a preferred time zone. When creating a shift, simply pick the time zone of your choice.
Time zones in the mobile app
Set preferred time zone for customer and organization
You can set the preferred time zone for a customer or organization on the mobile app as well. Here’s how:
1. Go to the "Clients" module and select Customer/Organization from the top-left hamburger icon.
2. Click the “+” icon. A new customer/organization creation page appears.
3. Under the customer/organization’s primary information section, you can view the “Preferred Time Zone” column. Choose the preferred time zone for the customer or organization from the dropdown.
4. After choosing the time zone, you can view it from both the customer or organization details page.
Schedule jobs in a preferred time zone
In the mobile app, field technicians can view assigned job details, including the scheduled date and time, by default in their device's time zone. However, jobs can also be created and rescheduled in a preferred time zone. Follow these steps to set a time zone when creating a job:
1. Go to the job creation page.
2. Under "Schedule," the device's time zone will be shown by default, which you can change as needed.
3. Once set, the selected time zone will apply to the Due Date, Start, and End Date & Time. You can also view the start and end times converted to your device's time zone for better clarity. Additionally, you can view Assisted Scheduling slots in your preferred time zone.
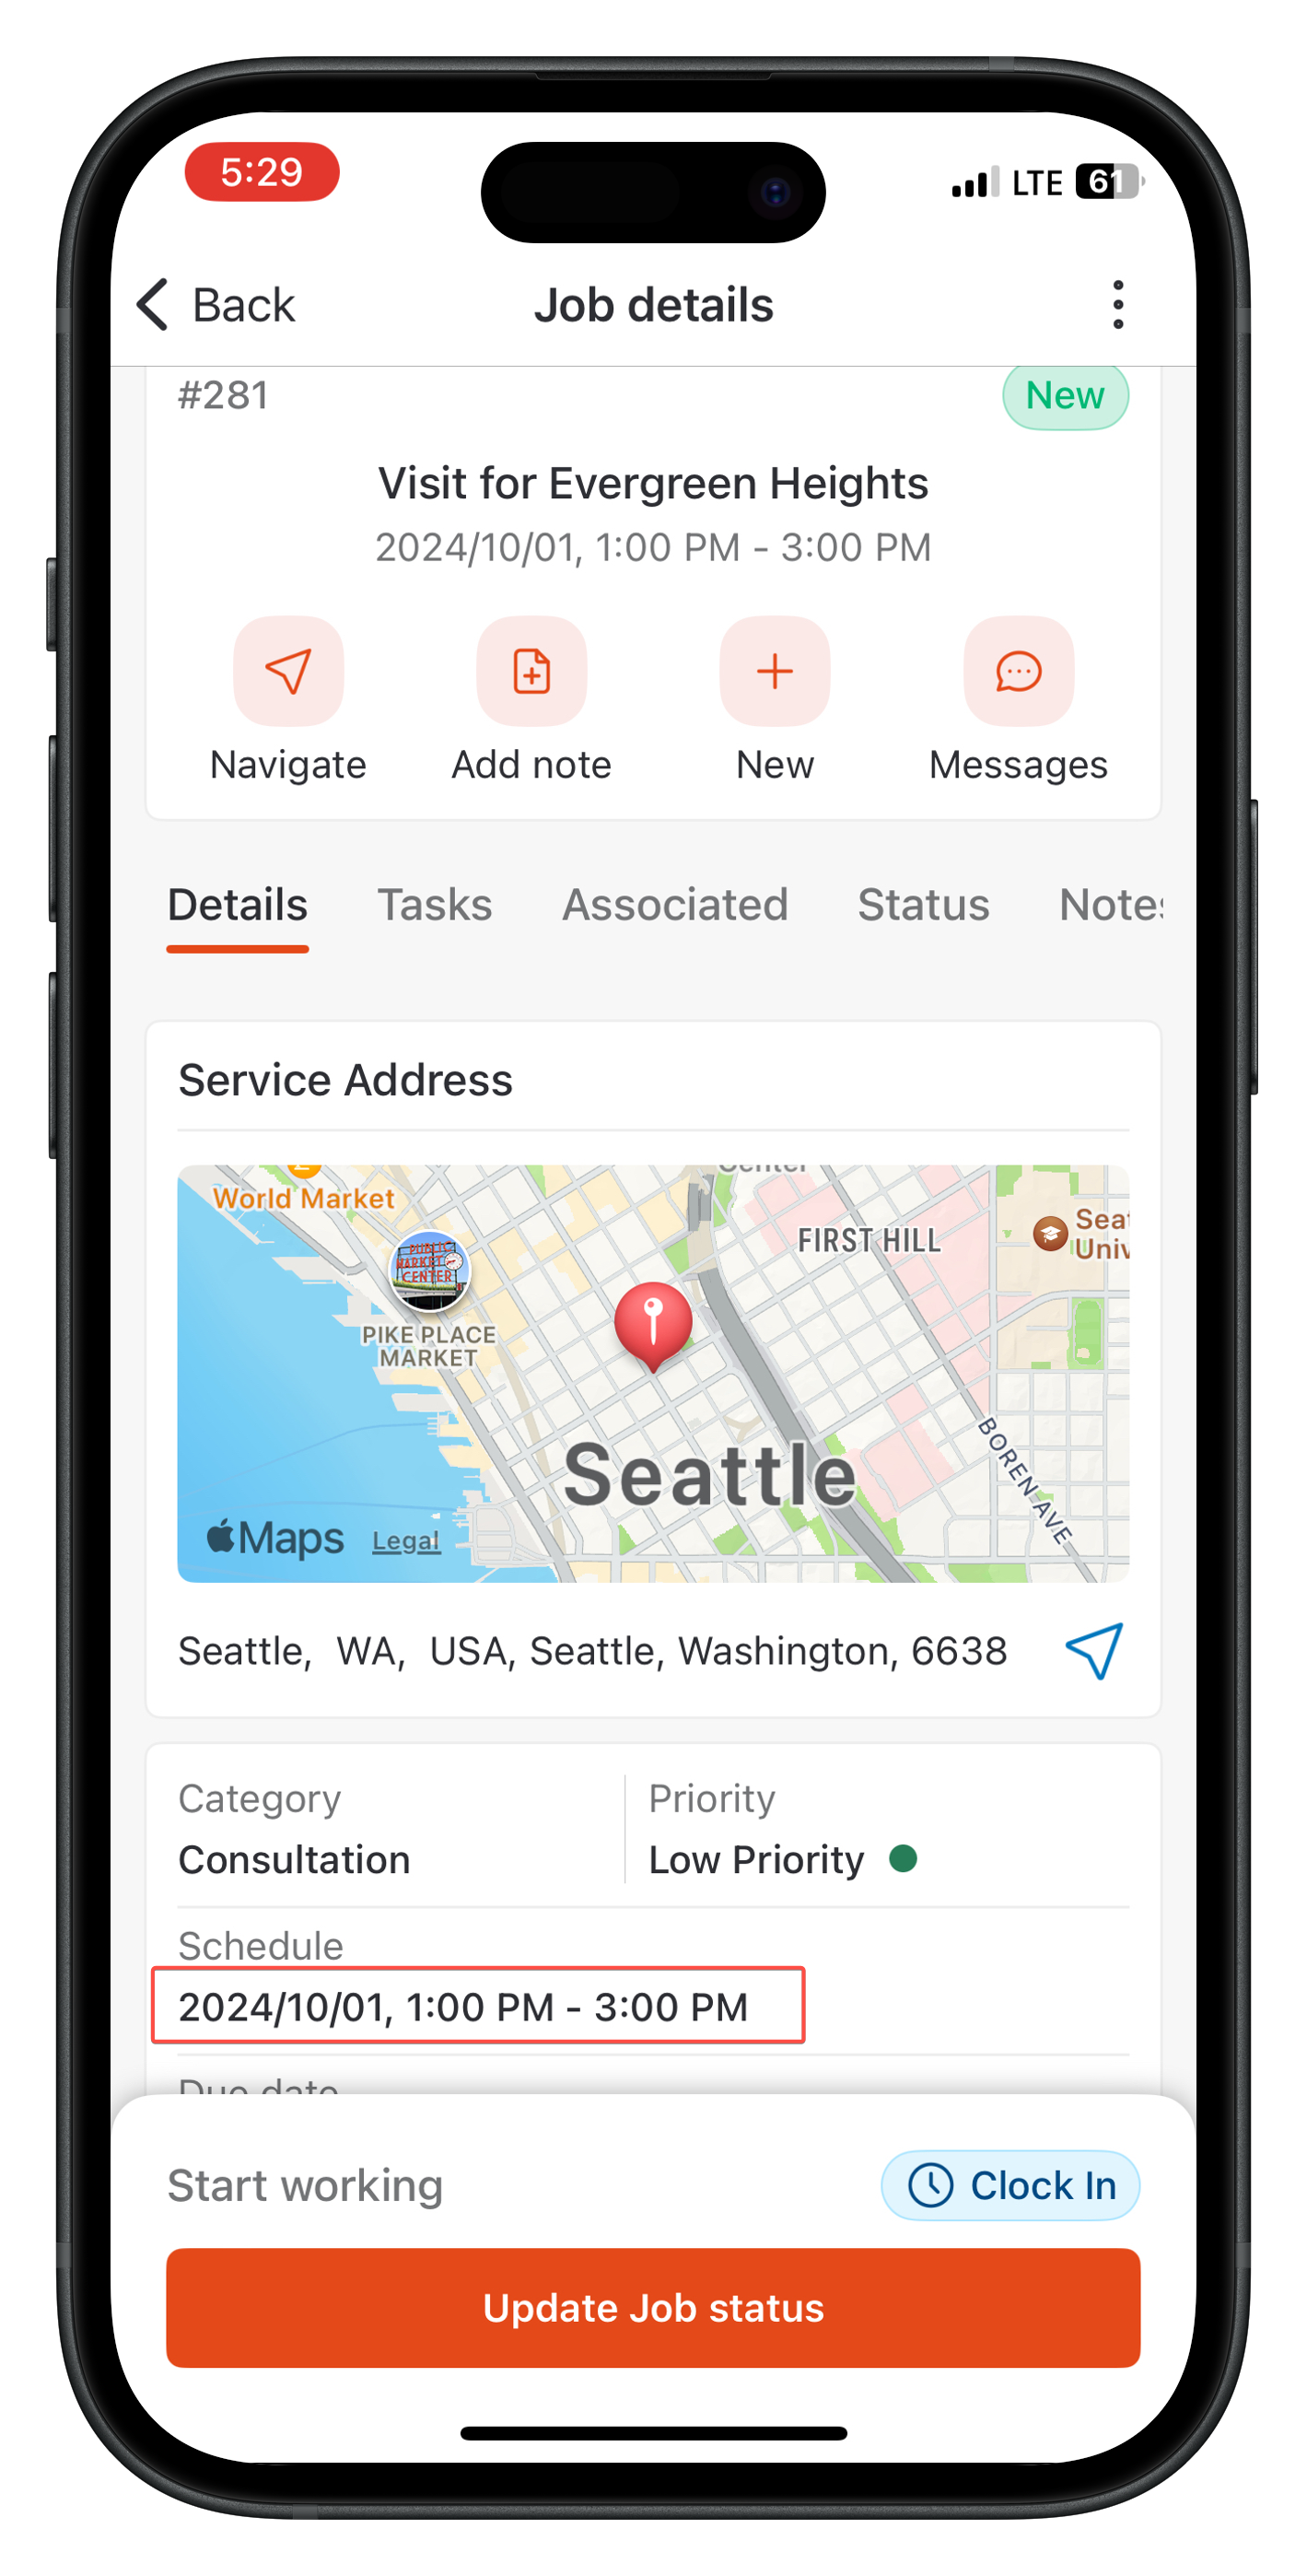
4. After setting the time zone, it will be visible on both the job details and the listing page.
5. You can change the time zone when rescheduling a job by clicking the "edit" icon next to Schedule.
Disabling multiple time zones
If multiple time zones are disabled, you can still view the time zone a job was scheduled in, along with the schedule in the corresponding time zone in the Jobs listing and details on the web. On mobile, you can view the job's time zone when editing. However, you cannot edit the time zone. To clear the time zone, you would have to clear the schedule.
Time zone in old jobs
Old jobs (Jobs created before multiple time zones were introduced) would be displayed in the Account time zone. You can also update the time zone for old jobs when rescheduling.
Related Articles
How to log work and travel time on the Job in the Zuper mobile app
In Zuper, the timelog feature allows technicians to log both travel and labor time to track the time spent on each job accurately. This ensures that all time entries, whether spent traveling or working on-site, are captured properly. 1. Select the ...How to manage your customers' assets / installed base in the Zuper web app
Any item purchased by a company as a product and, when distributed to a customer service location to fulfill a job, contract, or service agreement, is referred to as an asset. Additionally, the asset can either be owned by the customer or by the ...How do I change the time zone of my V2 Zuper Web App?
The Timezone of your Zuper account can be updated as per your preference. 1. Select the Settings module from the left navigation menu. 2. Under General Settings, click the Account Settings. 3. Click the dropdown and select your preferred Timezone. ...How to access and manage timeoff requests in the Zuper mobile app?
The timeoff requests feature in Zuper is designed to streamline the management of employee leave requests. It allows you to efficiently handle time-off requests, eliminating the need for paperwork by enabling a fully digital process. With built-in ...How to Create Time-Off Requests?
One of the most common processes to create leaves in Zuper is via Time-Off Requests. With workflow and approval steps, a paperless time-off request process can be set up from the Timesheet Module in Zuper. Creating Time-Off Requests Click on the ...