How to integrate and use Zendesk Support with Zuper?
The Zendesk-Zuper integration helps the user connect the Zendesk support tickets with Zuper. The bi-directional data flow based on the settings allows the user to update the ticket details on both Zendesk and Zuper.
We are going to see two different setups:
Zuper – Zendesk Integration
Pre-Requisites:
A. Zendesk-Zuper Integration:
You need to land on the Zendesk support page and integrate
the Zuper with Zendesk by following the steps:
2. Select the “Go to Admin
Center” option.
B. Zuper – Zendesk Integration:
To get the API keys for Zuper-Zendesk
Integration, follow the steps below:

How to Install?
C. Zuper - Zendesk Sell/ Support Field Equivalents:
Deal ID / Zendesk ID - The deal ID / Zendesk ID is a unique ID of Zendesk Sell / Support that is getting pushed to the Custom Field of Zuper for identification purposes.
D. How does Job creation work in Zendesk?
1. From the right panel of Zendesk - Choose “Create Job” to create a new job. You need to fill the following tabs :
Customer Details Tab - Enter the client’s details.
Job Details Tab - Enter the work order details.
Assign Employees - Assign the field technicians using assisted scheduling option.


Assisted Scheduling helps you to choose the time slots based on the Slot View or Resource View
Slot View - Based on the category chosen, time slots are shown.
Resource View - Based on the user availability.

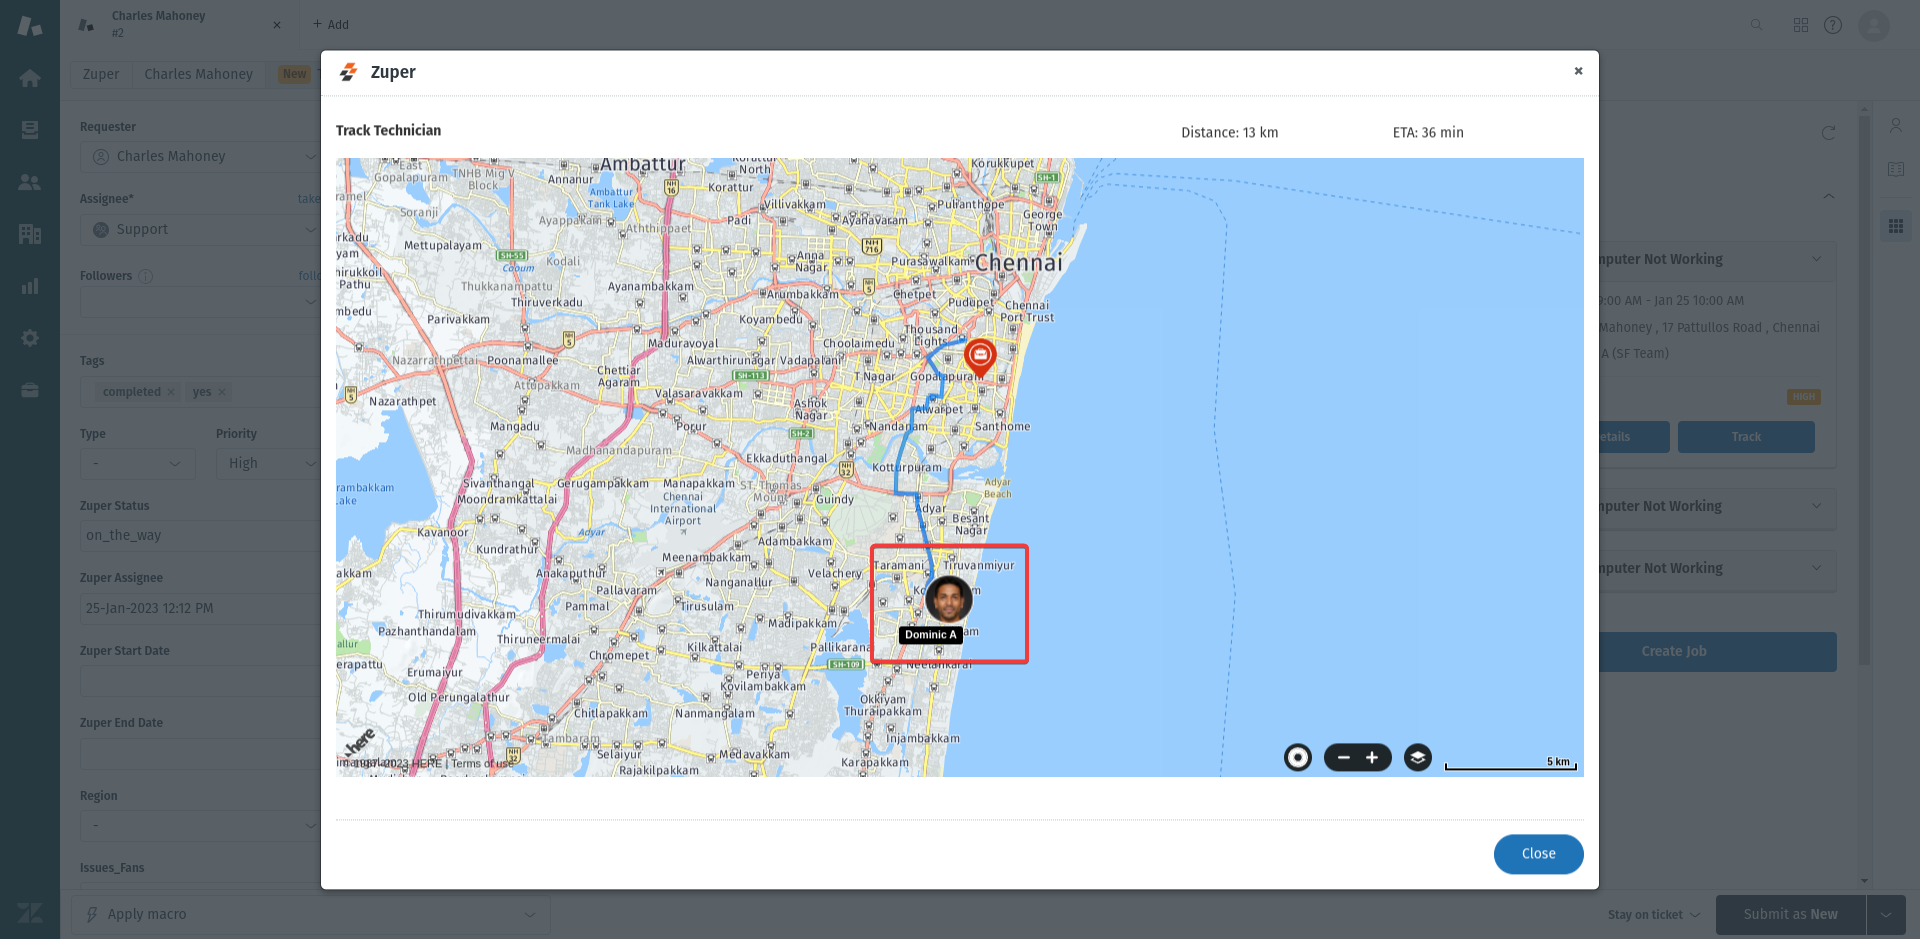
E. Overall Flow:
How to Uninstall?
1. Open a new tab in your browser and once you are logged in to your Zuper Account, click on your Profile Picture on the top right corner of the screen and click on “App Store.”
Related Articles
How to integrate and use Clyr with Zuper?
Introduction: The Zuper-Clyr integration enables you to automate expense management. Track your expenses by adding your credit card details on Clyr. Sync Jobs from Zuper as Projects on Clyr. Associate expenses to Projects on Clyr. Track your expenses ...How to integrate and use Google Calendar with Zuper?
With our Zuper-Google Calendar integration, the user can install the Google Calendar from our Zuper store. Then, post-installation, whenever the jobs are created and scheduled for a particular date, this vital job information will be created and ...How to integrate and use CloudTalk with Zuper?
With our new Zuper-CloudTalk integration, you can connect your CloudTalk account to Zuper and automatically send outbound SMS through your CloudTalk number. The CloudTalk App is a popular phone app based out of the European region and they support ...How to integrate and use Freshdesk with Zuper?
With Zuper’s first-class integration with Fresh desk, it seamlessly helps to push the Freshdesk tickets to Zuper for deliver an exceptional customer experience. You can create Job from Freshdesk ticket with a bi-directional sync. The three major ...How to integrate and use Avalara with Zuper?
Introduction Avalara AvaTax is a cloud-based solution that automates transaction tax calculations and the tax filing process. Avalara provides real-time tax calculation using tax content from more than 12,000 US taxing jurisdictions and over 200 ...