How to create a new property in the Zuper web app?
A property represents the physical space occupied by the customer where field technicians perform their services. It includes various resources and mapped customer details. Managing a property involves operational maintenance and control over real estate, whether residential or commercial.
 Navigation: Properties --> + New Property
1. Click the "Clients" module from the left navigation menu and select “Properties.”
2. Click the "+New Property" button from the top left corner.
3. Enter the “Primary Information” details as follows:
- Select the organization from the “Choose Organization."
- Enter the “Property Name” details.
- Upload the "Property Image."
4. Choose either "Tax Exempt" or "Taxable."
- If "Tax Exempt" is selected, tax will not be added.
- If "Taxable" is selected, tax will be added based on the specified Tax Group.
5. Choose the address with the “Pick From Map” option.
6. Select "Address" or "Geo-Coordinates." Enter the address or coordinates, and click the "Use this address" button. The address, including the landmark, city, state, country, zip code, and geo-coordinates, will be auto-filled.
7. Click the “+ Pick Customers” button to add the customer if required.
8. Select the “+ Add Attachment” option to add the property-related attachments.
9. Click the “Save Property” button to save the property.
10. Click the “Create” button to confirm the property creation.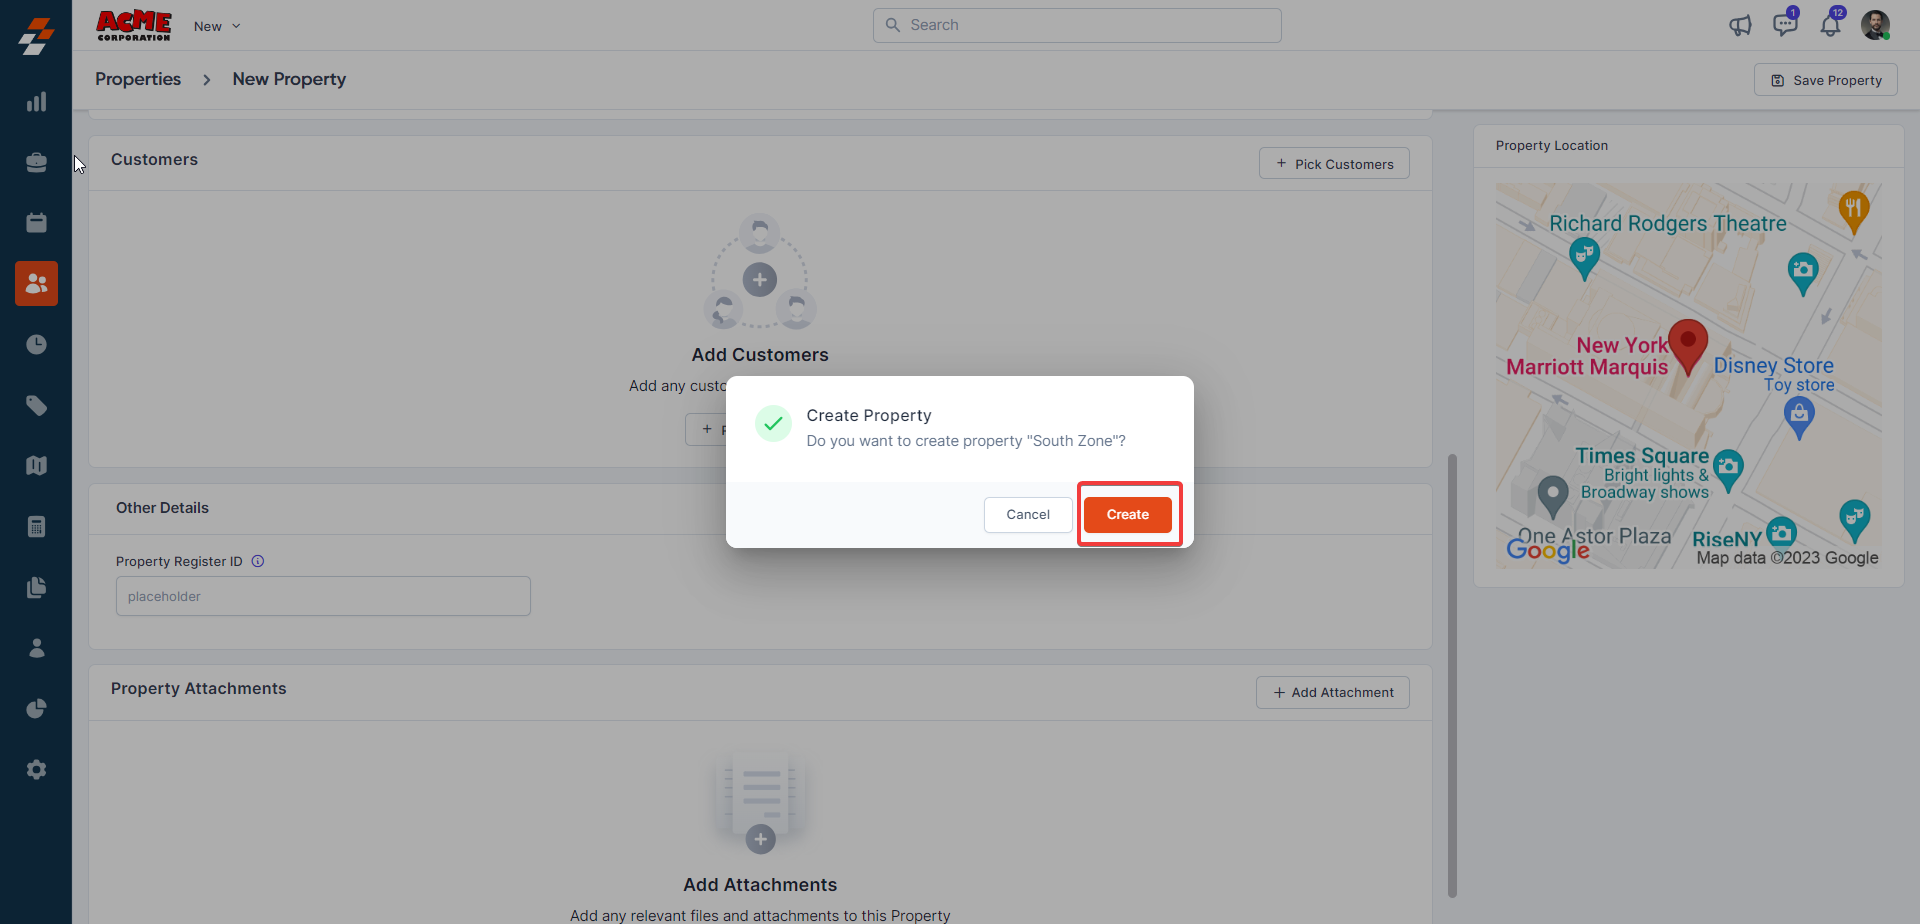
The new property is created successfully.
Creating a property is essential for associating it with multiple modules, such as assets and customers. This association allows field technicians to efficiently provide services to end customers.
Related Articles
How to access and manage properties in the Zuper mobile app?
The properties module in Zuper is designed to help you manage your property details efficiently. This module allows you to associate properties with customers and create new jobs for them. By utilizing the Properties module, you can easily keep track ...How to access and manage property details in the Zuper web app?
The Property details page allows you to view the complete information of the property and all its associated records in a single place. 1. Select the "Clients" module from the left navigation menu and click the "Properties" Module. 2. Click the ...How to create a new Job in the V2 Zuper Web App?
Our new feature allows you to create customized jobs for specific organizations or customers, ensuring that business-to-business related work orders are efficiently created with all the necessary details and properties. This feature is especially ...How to create a new AR (Account Receivable) invoice in the Zuper web app
An invoice is an accounting document that a field service business sends to its clients to request payment for the services rendered. Navigation: Accounting --> Invoices --> + New Invoice 1. Select the “Invoices” icon from the left navigation menu ...How to create a Job on the Zuper Mobile app?
Jobs are the heart of the Zuper Mobile App. It is the core of all field service operations. In Zuper Mobile App, you can create a new job. Create a new Job: 1. Select the "Jobs" module from the top-left hamburger icon . 2. Select the "+“ icon from ...