How to create a new part/service in the Zuper web app
The part and Services module is critical to creating and managing all the products and performing all the inventory management actions.
 Navigation: Parts and Services --> + New Part & Service
Creating a new part/service
1. Select the “Parts & Services” icon from the left navigation menu and click “+ New Part/Service” to create a new part & service.
A. Parts and Service Details Pane
The left pane is known as the Parts and Service details Pane. Fill in the required details.
- Type (Mandatory Field) - Select the product type from the drop-down list. You can choose a Product, Part, Service, or Bundle.
- Based on the selected type, the fields will be displayed dynamically.
- Enter the relevant information such as Name, Number, and Category.
- Specify whether it's Billable or Not. You can now define whether a part, service, product, or bundle is billable or non-billable directly on the master page.
Billable: The cost of the part/service/product/bundle will be included in the transaction document.
Non-Billable: The part/service/product/bundle will be displayed as a non-billable line item, excluded from the billable total but still tracked for reference.

Info: If
you haven't set the Part/Service/Product/Bundle as Billable in the master
level, when you use it in transactions (e.g., a Job or Quote), the "Non-Billable"
status will be reflected in all subsequent transaction documents. However, you
can choose to edit it in the transaction, allowing you to modify the status on
a case-by-case basis.
Within this module lies an intriguing feature known as "Markup."
Markup, in other words, is called the "margin amount" that you provide to the purchase price of parts and services. After applying a markup, the system automatically calculates the selling price of the respective part or service.
Markup Configuration
To use the markup feature efficiently in parts/services, you must enable it in the organization settings. To do so, follow these steps:
1. Select the "Settings" icon from the left navigation menu, and under General Settings, click "Organization Settings." 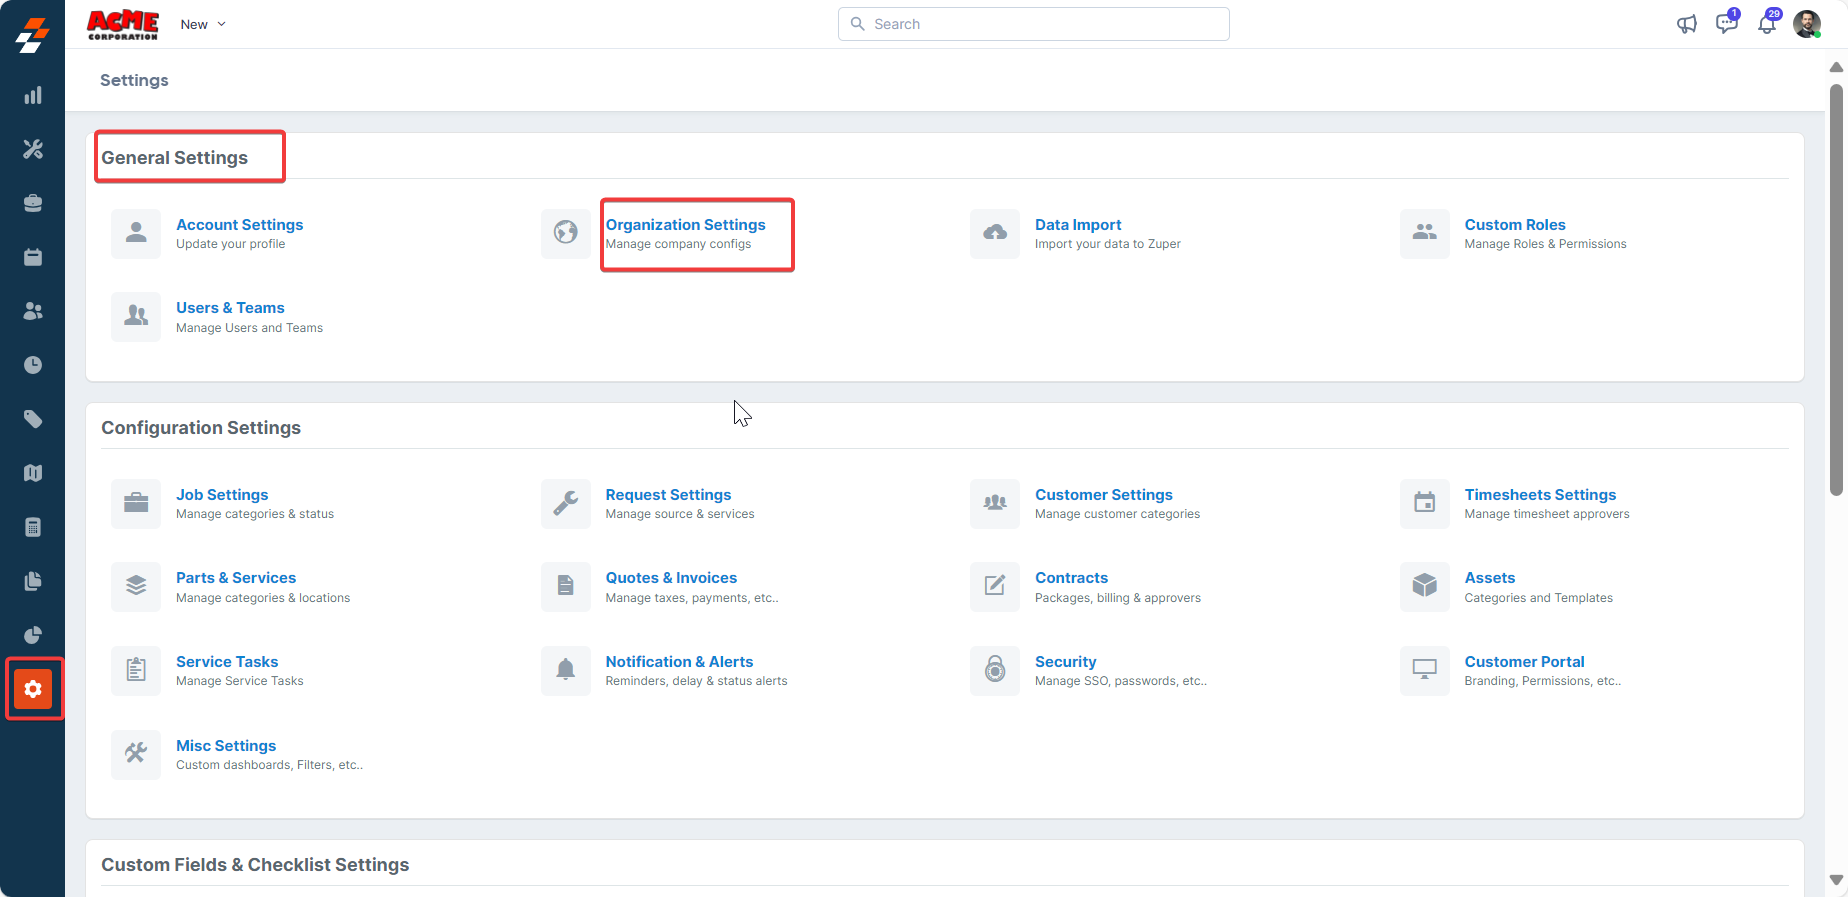
2. In the Organization settings page, select "Part and Services settings" under configuration, choose "Yes" next to Enable Markup, and click "Save Settings."
You can now add markup to parts and services and edit the markup for jobs, quotes, and invoices.
B. Primary Details
The primary details section helps you to manage all the core inventory-related information. Since you've enabled Markup, you can also view the "markup" option between the Unit Purchase Price/Cost and Unit Selling Price.
i) Category (Mandatory Field) - Select the product category from the drop-down list.
ii) Minimum Quantity (Mandatory Field) - The minimum amount of product you are willing to sell in a single order.
iii) Unit Selling Price (Mandatory Field) - The selling price of the individual product. It is automatically determined based on the markup applied to the purchase price of parts and services. Markup has the following conditions.
● Flat (+): With the flat markup condition, a predetermined fixed amount is added to the unit purchase price to determine the unit selling price.
● Percentage (%): Under the percentage markup condition, a specified percentage of the unit purchase price is added to calculate the unit selling price.
● Multiplier (x): With the multiplier markup condition, the unit purchase price is multiplied by a specified amount to obtain the unit selling price.
C. Tax Details
You can manage the Tax details in this section.
Tax Preference: Select the preference regarding the tax.
If you choose the "Taxable" option:
i) Tax Name (Mandatory Field) - Enter the name of the tax.
ii) Tax Rate (Mandatory Field) - Enter the tax rate.
If you choose the "Tax Exempt" option: Tax Exempt Reason (Optional) - Enter the reason for the exemption.
D. Other Details
The other details section will display all the custom fields that you define under the settings.
E. Location Availability
1. The location availability helps to manage the inventory items based on the warehouse location with available and minimum quantity.
The “Enable Serial Number Tracking” option is to be enabled.
2. Add the serial numbers required for the parts. You need to enter the serial number one by one and press "Enter" key to save the serial number. Finally, click the “Update Item” button.
Note: It is mandatory to add the serial numbers, once the "Track Serial Number" checkbox is enabled. For the total quantities added as the parts, you need to add the exact serial numbers and save.
Note: After saving the “Part,” the same can be tracked under the “Location Availability” section.
3. Once you save the serial numbers, you can view them from location availability section.
Click the "Location Availability" section and tap the "View Details" button.
4. A dialog box appears and you can view the serial numbers.
F. Attachments and Save the Part/Service
1. You can add the attachments related to the product.
2. A dialog box will appear. Upload the attachments.
3. The attachments are added successfully.
4. Click the "Save Part / Service" button to add the product to the inventory.
5. A dialog box appears. Click the "Create" button to create the product.
6. The new product is created successfully.
The product/part/service is the significant module, as a major service, part, or product consumed during the Job is created here, and inventory management happens here.
Editing Markup
The Markup can be edited in the following areas:
1. From the Parts/services listing page
2. From job, quote, and invoices.
To do so, follow these steps:
From the Parts/Services listing page
1. Click the "Parts & Services" icon from the left navigation menu, then select the desired part or service from the list.
2. Once in the respective part or service, click "More Actions" at the top right corner and select "Edit Part." From there, you can make the necessary changes to the Markup.
3. After you have made the edits, the part or service will be updated in the mastery. You can add the updated part/service when creating a job, quote, or invoice.
From Job, Quotes, and Invoices
To edit a part/service markup, you must create a job, quote, or invoice. While creating, add the part/service and edit it. To do so, follow these steps:
In the following example, we will create a job, add a part or service, and make the desired changes to the Markup.
1. Click the "Jobs" module from the left navigation menu and select "Jobs."
2. In the Jobs listing page, click the "+New Job" button at the top right corner.
3. Add the job details, including title, category, due date, and part/service details.
4. When adding a part/service, select the respective part/service and edit the markup.
5. Alternatively, you can add and edit the specific part/service to the job. To do so, click the three-dot icon next to the part/service and select "Edit."

Note: If you are logged in with Admin access or your role permits, you can update the billable status of a part, product, or service directly on the Update Line Item page. If you are experiencing issues updating the expense policies, please reach out to us at support@zuper.co.
6. Make necessary changes to the markup and click the "Update Line Item" button.
Note: The respective part/service will be updated only for the specific job and will not be added to the mastery list. Related Articles
Product Bundles in Zuper web app
Overview Product Bundles in Zuper allow your business to streamline operations by grouping multiple parts, products, or services into a single unit. Whether you need to sell a collection of items together or offer a package of services as one, ...How to create a new AR (Account Receivable) invoice in the Zuper web app
An invoice is an accounting document that a field service business sends to its clients to request payment for the services rendered. Navigation: Accounting --> Invoices --> + New Invoice 1. Select the “Invoices” icon from the left navigation menu ...How to manage stock transactions of Inventory and details in the Zuper web app?
You can modify the product once you create a product/part/service. Select any one of the line items to view the details page. Navigation: Parts & Services --> Choose any line item --> Details Page 1. Select the "Parts and Services" module from the ...How to create & manage Service Tasks?
Our Zuper’s new feature, Service Tasks, helps the field executives complete each service task mapped to the jobs. Service tasks are used to create process steps, or checklists, for the field technician to follow when completing a work order and can ...How to navigate and manage the Parts and Services listing page in the Zuper web app?
The products are the most significant part of the field service, and especially for the field technicians, those who gain end-to-end details about the product can quickly solve issues and provide service. Navigation: Parts & Services -> Parts & ...